Setup your own Bitcoin Lightning Node
Pay, get paid, control your funds, and enjoy even lower fees!


This guide covers:
Buying and assembling the hardware
Setting up a ligthning node
Creating a lightning wallet on your mobile phone
Sending & receiving payments
The benefits over custodial solutions (Zeus, Wallet of Satoshi, Strike etc…) are:
Lower fees: No custodial fees & lower transaction fees
No KYC: You never have to fill in ANY personal information
No middleman: You don’t need to trust a 3rd party
Requirements
Some bitcoin
The lightning network is a giant web of nodes connected via channels.

As a Layer 2 solution, the Lightning Network requires opening channels with other nodes and locking BTC inside them.
The more channels you open, the better your integration with the network becomes, ensuring that your transactions always have a route.
I recommend locking at least 3 million SATs (0.03 BTC). Keep in mind that we will also need to pay very small fees for opening the channels.
Hardware
This is what I got on Amazon, feel free to look for different options:
You can also use a Raspberry 5 but I haven’t tried it and won’t cover it.
Software
Our node will be powered by Umbrel OS, download the latest version here.
The file to download is
umbrelos-pi4.img.zip
Step 1 - Flash Umbrel OS
Insert the micro SD card into the micro SD card reader
Connect the micro SD card reader to your computer’s USB port
Find the block device corresponding to the micro SD
lsblk -o NAME,FSTYPE,FSSIZE,FSAVAIL,MOUNTPOINTMine is
/dev/sda(replace by yours in following commands)
Unmount the device if needeed
sudo umount /dev/sda
Unzip
umbrelos-pi4.img.zipFlash Umbrel OS on the microSD
sudo dd if=/tmp/umbrelos-pi4.img of=/dev/sda bs=1M status=progressWait for the prompt to return, this can take a while
Windows & MacOS users can use Etcher instead and follow this tutorial.
Step 2 - Boot the Raspberry Pi
First, insert the microSD card into the Raspberry Pi.
Next, put the SSD into the SSD enclosure by plugging it into the SATA connector.
Then, connect the SSD to the Raspberry Pi's USB port using the included cable.
Connect the Raspberry Pi to your router using the RJ45 cable.
Finally, plug the Raspberry Pi into power.
Step 3 - Enable remote access
Wait ~5 min for Umbrel to install, then go to http://umbrel.local to access your node from your home network.
Leave all settings at default. Choose a strong password and store it safely.
We will want to use our wallet when we’re not at home. In Umbrel, go to Settings and turn on Remote Tor access.
A .onion address is generated and you can now access your node from anywhere.
Use Tor Browser on PC or Orbot on mobile to connect to your node remotely.
Step 4 - Setup the Bitcoin Node
Go to the Umbrel App Store and download the Bitcoin Node application:
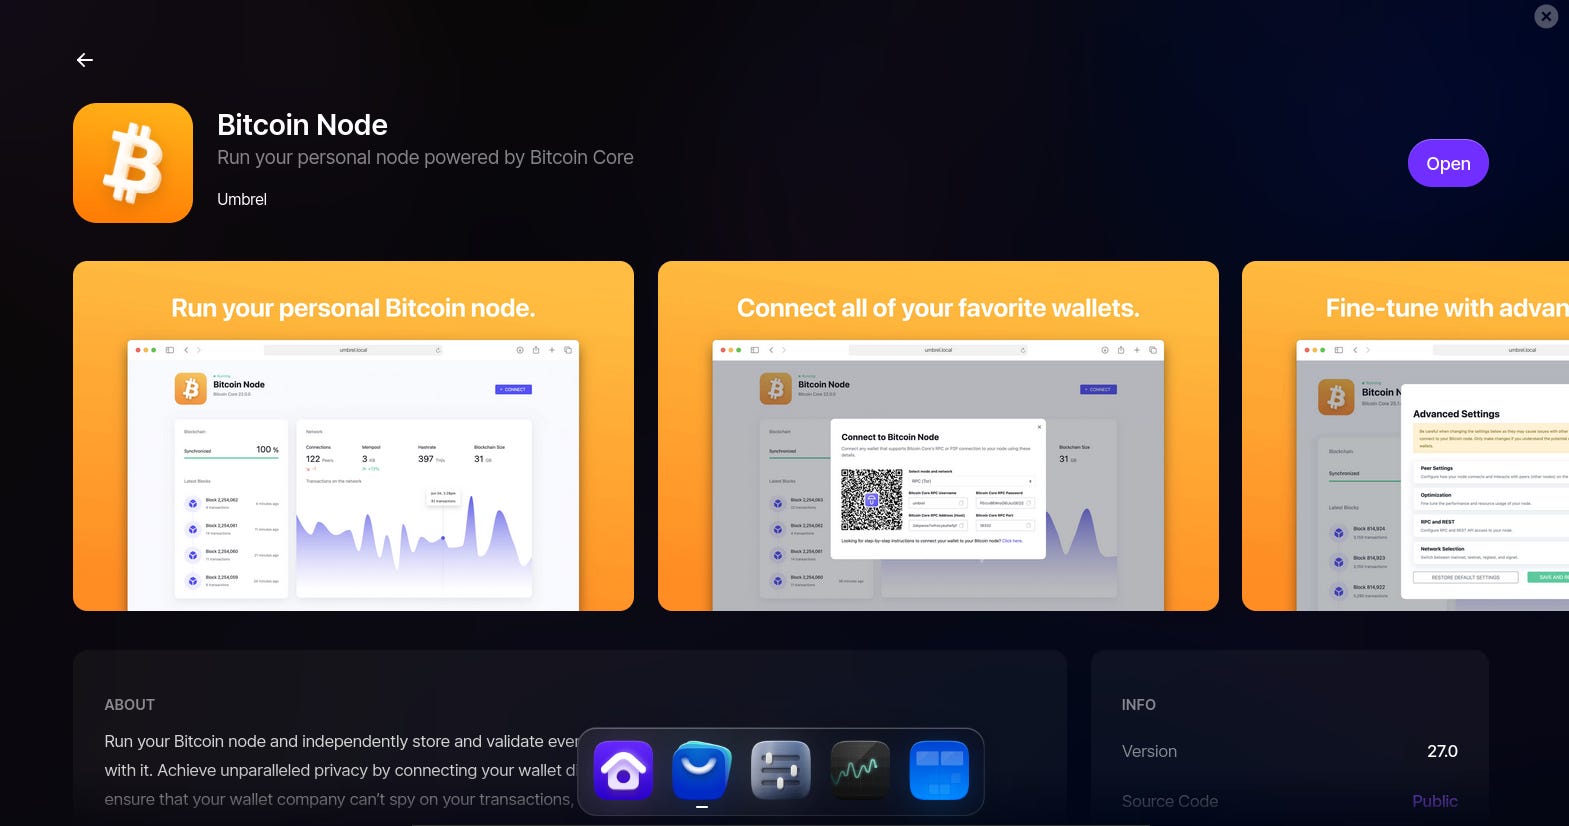
Launch the application and leave all settings at default.
Your node will now connect to remote peers to download & verify the entire blockchain. More recent blocks will take more time to process because they contain more transactions. Even with a great internet connection this will take a few days.
Make sure your Raspberry Pi remains powered & connected during this process.
Step 5 - Setup the Lightning node
Go to the Umbrel App Store and download the Lightning Node application:
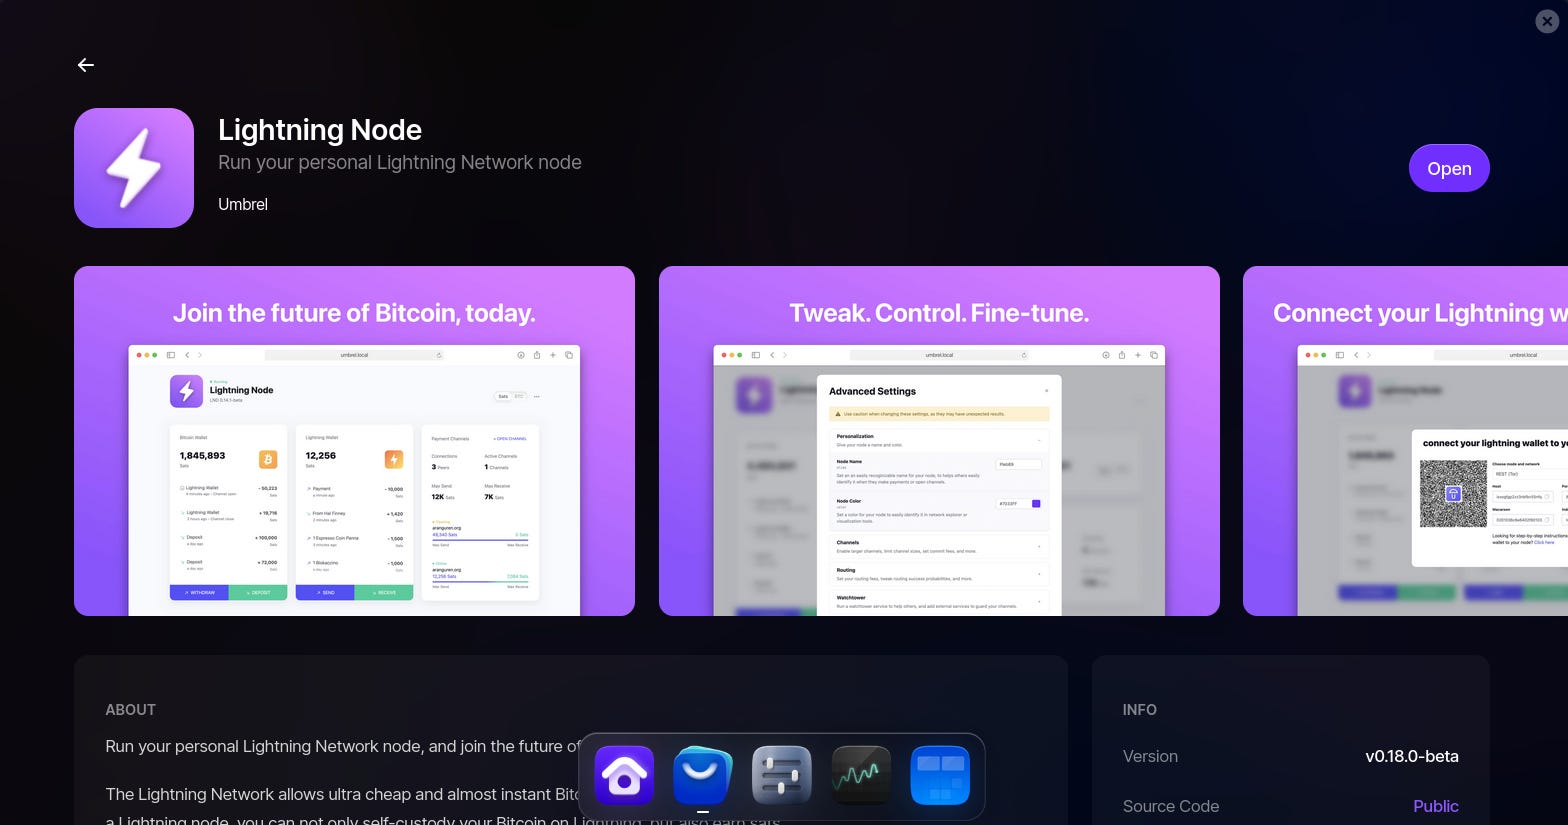
Launch the application and leave all settings at default. You will get prompted to add an existing wallet or create a new one.
This wallet will be the node’s main wallet. It opens the channels & controls funds.
If you created a new one, make sure to store the seed phrase safely!
Step 6 - Deposit funds
We must deposit BTC into the node’s main wallet to then be able to open channels.
Open the Lightning Node application. Under the Bitcoin Wallet section, click Deposit.
Send BTC to the address displayed. As mentioned, at least 0.03 is recommended.
This is a regular bitcoin payment, do not use lightning for the deposit.
Step 7 - Enable sending payments
To be able to send payments we must open channels on other nodes and lock BTC.
This is called outbound liquidity, where locked funds are on our side of the channel.
I recommend 3 channels on different nodes, with 0.01 BTC locked in each.
Open the Lightning Node application. Scroll down and click on + OPEN CHANNEL.
Find a well-connect node here
Copy the Node ID (format
pubkey@ip:port)Example, Kraken’s Node ID ⇒
02f1a8c87607f415c8f22c00593002775941dea48869ce23096af27b0cfdcc0b69@52.13.118.208:9735
Select the amount of BTC to be locked in the channel
In our example, Kraken has a
0.01 BTCminimum requirement (read more)
Adjust the transaction fee (the higher the fee, the faster the channel opens)
It can take anywhere from ~30 minutes to 24 hours.
Repeat the operation as many times as you wish.
The more channels you open, the better your integration with the network!
Step 8 - Enable receiving payments
For us to receive payments, other nodes must open channels on our node & lock BTC.
This is inbound liquidity, where locked funds are on the other side of the channel.
Unless you know other node operators, we’ll use a service called LNBig. It allows us to get inbound channels opened on our node in exchange for paying a small fee.
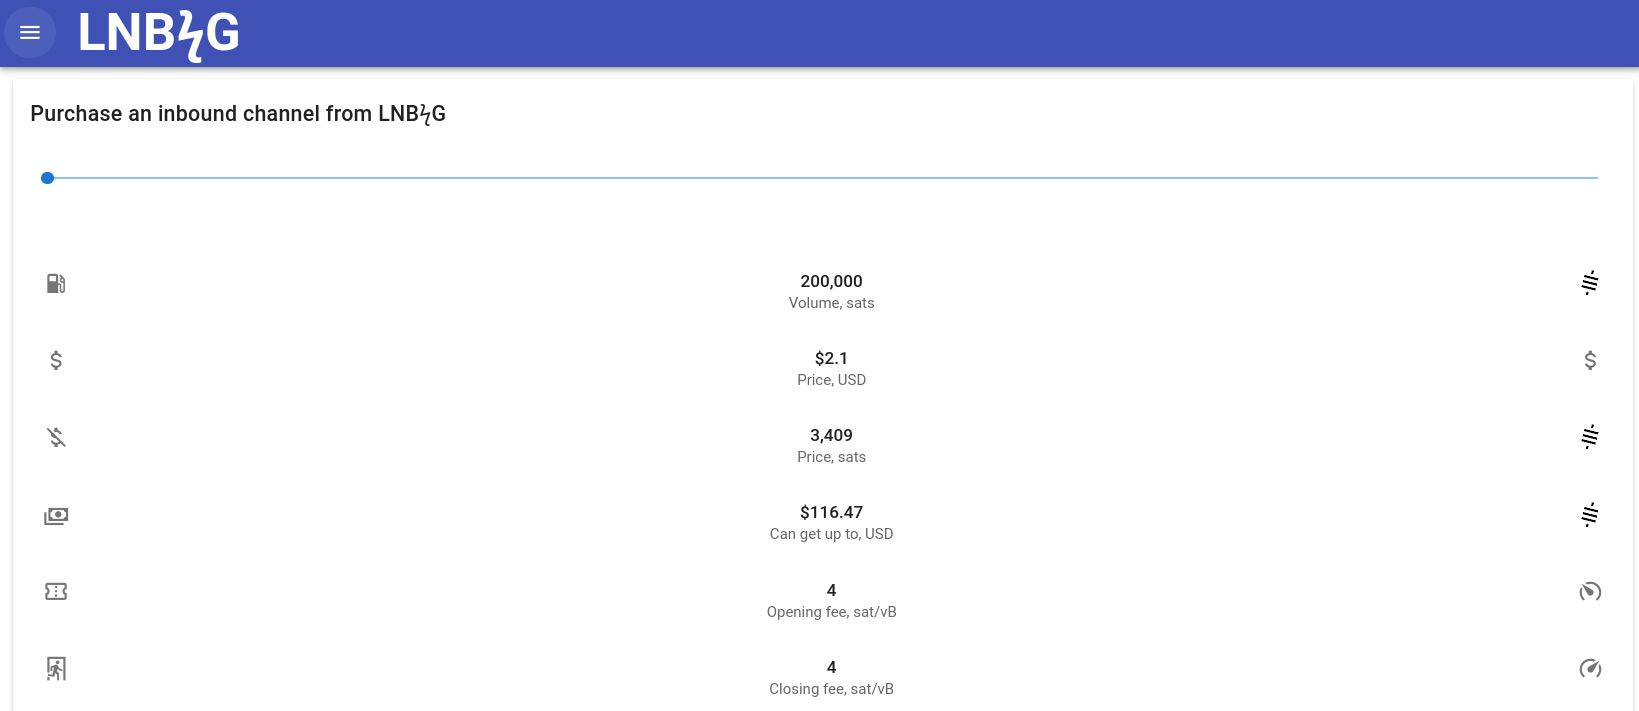
LNBig channels usually expire after 30 days or if there isn’t enough activity.
Go to this page. To open a new inbound channel:
Select how much BTC you want LNBig to lock into the channel
The larger the channel, the higher the opening fee LNBig charges
Make a pre-payment via lightning
Enter your Lightning Node ID, which is exposed via Tor. To find it:
Open the
Lightning NodeapplicationClick the three dots on the top right side
Click on
Node IDSelect
Network > Torand copy the theNode ID
LNBig will now attempt to connect to your node; this may take some time
LNBig may ask you to open a channel to their node first before they open one on yours. This is usually required only the first time. Repeat Step 7 with the Node ID they provide.
When I opened it, I matched the amount I requested for the inbound channel, but I’m not sure if it matters or not.
As soon as you’re done, you’ll see the incoming channel from LNBig opening.
The channel will take a little while before it’s ready
Open a few channels like this until you're balanced.
Being balanced means having approximately the same amount of inbound and outbound liquidity.
Step 9 - Create a mobile wallet
You can use the node’s main Lightning wallet at http://umbrel.local:2101, but it's better to have a mobile wallet for use anywhere!
On your phone, install the following apps:
BlueWallet: An open source mobile wallet that supports Lightning
Orbot: To connect to Tor, otherwise BlueWallet won’t be able to reach your node
On the Umbrel App Store, download the BlueWallet Lightning application:
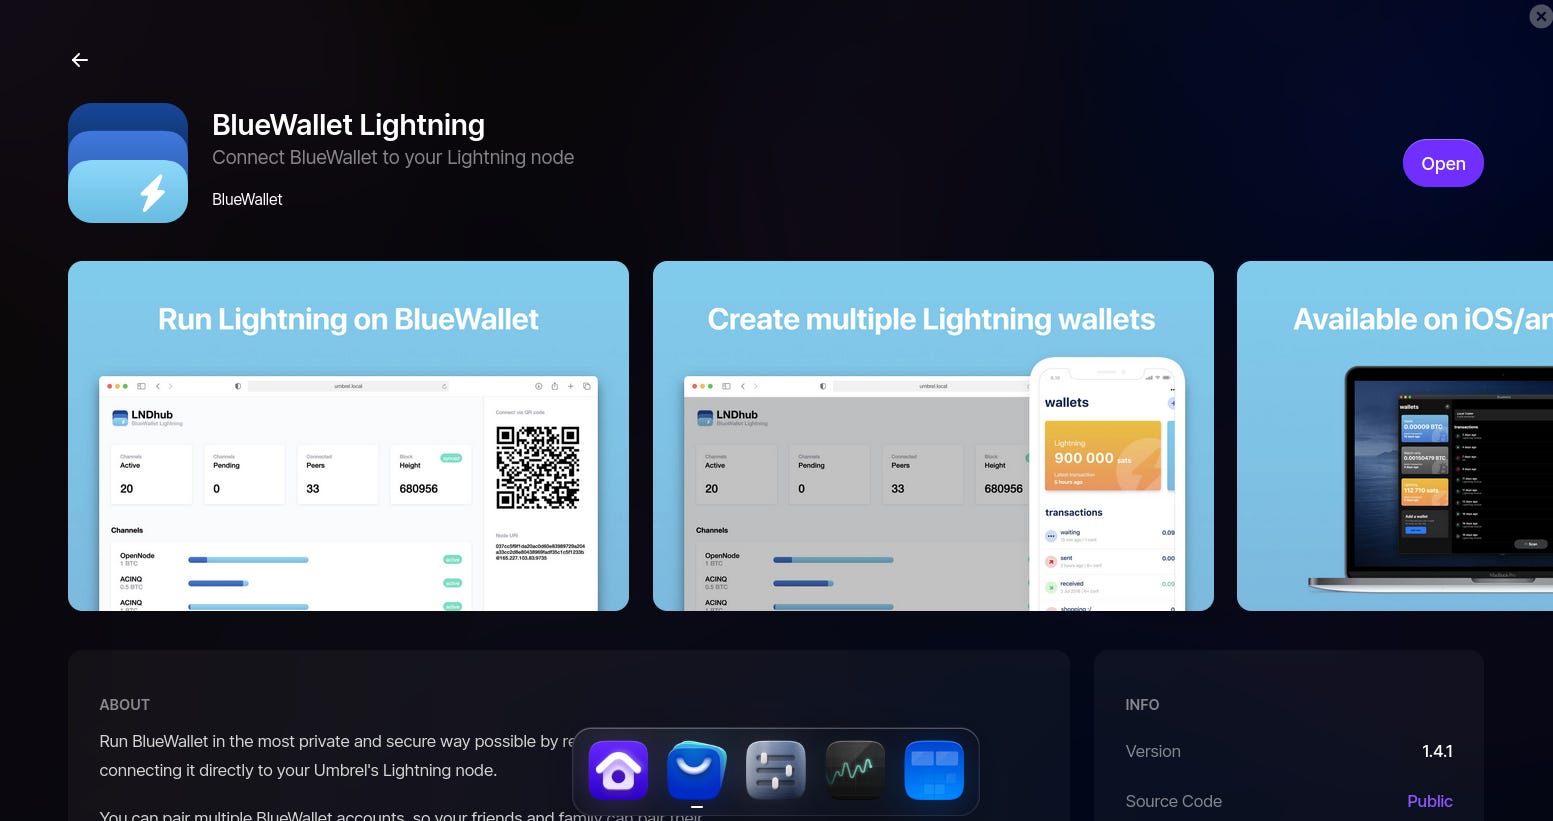
Open the application. At the top right, below the QR code, take note of the Node URI.
Now, back on your phone:
Start Orbot, wait to be successfully connected to Tor
Open BlueWallet, click on the 3 dots at the top right
Got to
Network > Lightning SettingsAdd the
Node URInoted before and save the changes
You can now create as many Lightning wallets as you’d like from your phone:
Back on the BlueWallet home screen, click the "+" in the top right.
To create a new wallet, select the
LightningoptionYou should see your Node URI pre-completed
Click
Createand you’re done, you have a new mobile lightning wallet!
Make sure to securely backup the wallet connection string
You are now able to send & receive Bitcoin using lightning invoices!
Step 10 - Know your backups!
On-chain funds can be recovered using the node’s main wallet seed phrase
Phone wallets can be recovered using the BlueWallet connection string
Funds in channels can be recovered using Static Channel Backups (SCBs)
Via SSH at /umbrel/lnd/data/chain/bitcoin/mainnet/channel.backup
Or via the
Lightning Nodeapplication
Have fun!